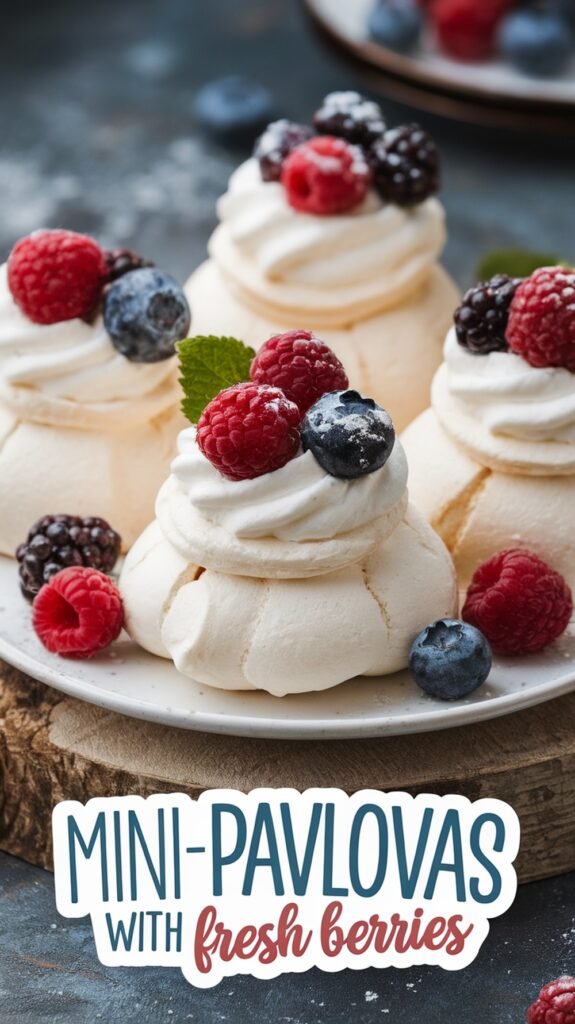
There’s a special kind of joy in breaking through the crisp shell of a pavlova, hearing that whisper of meringue as it gives way to a soft, marshmallowy center that melts instantly on the tongue. Light yet luxurious, mini pavlovas offer the elegance of the classic dessert in a charming, personal size that feels thoughtful and celebratory.
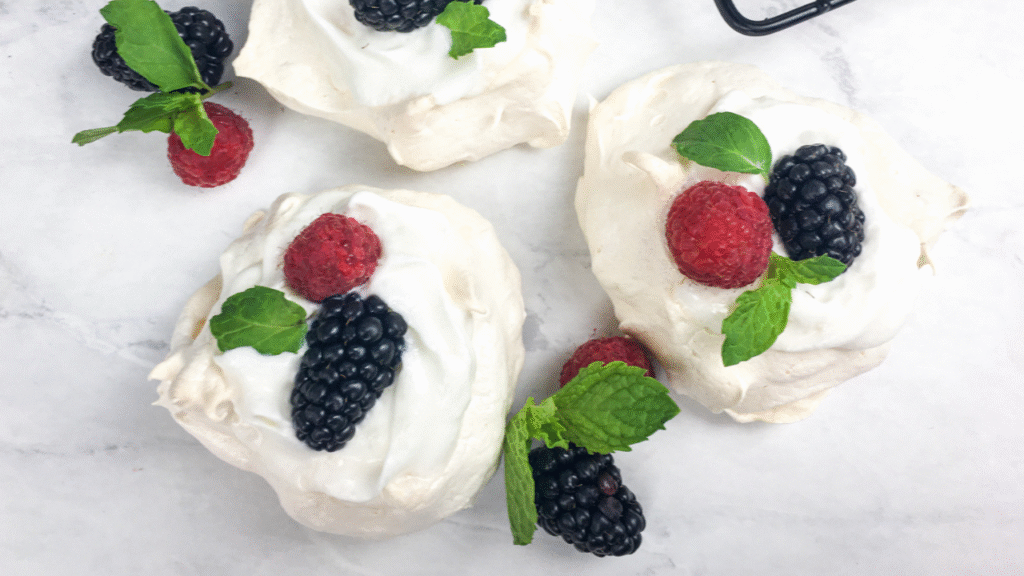
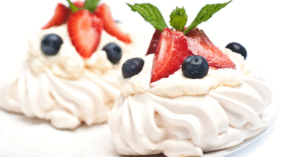
They bake low and slow, filling the kitchen with the warm aroma of sugar and vanilla as simple egg whites transform into something magical. Pale, glossy, and beautifully swirled straight from the oven, they’re already impressive, before being crowned with billowy whipped cream and jewel-bright berries that bring freshness to every bite.
These little clouds are as practical as they are stunning: bake them ahead, store them for days, and finish just before serving. Customize them by season: berries in summer, citrus curd in winter, figs and honey in fall, or chocolate curls for decadence. No matter how you top them, they’re guaranteed to shine at any celebration and leave everyone lingering over the last bite.
💖 Why You’ll Love This Recipe
There’s a special kind of joy in cracking through the delicate shell of a pavlova to reveal its soft, marshmallowy center. These elegant mini versions capture all the charm of the classic dessert in a personal size that feels thoughtful, celebratory, and irresistibly light.
- Crisp exterior that gently shatters under the spoon, giving way to a soft, cloud-like interior that melts instantly on the tongue.
- Baked low and slow, filling the kitchen with warm aromas of sugar and vanilla as simple egg whites turn into something extraordinary.
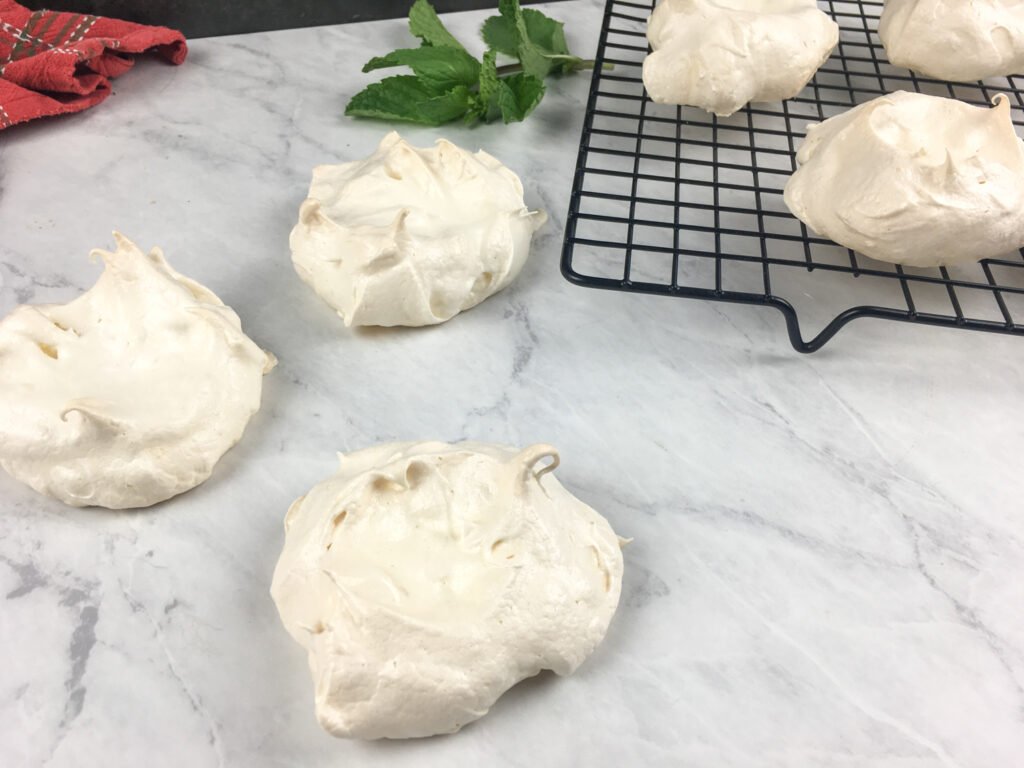
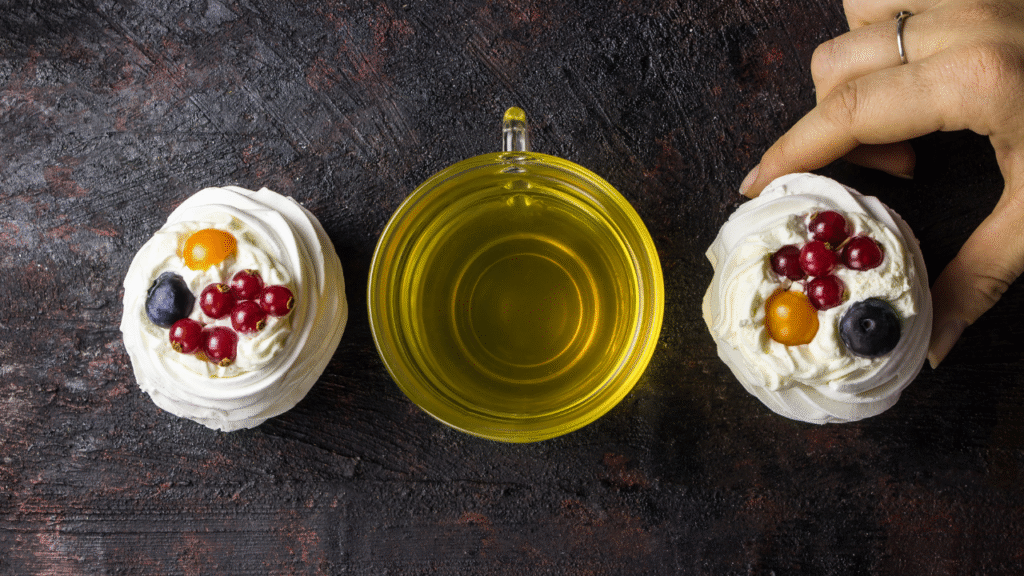
- Beautiful straight from the oven—pale, glossy, and swirled—before being topped with billowy whipped cream and vibrant, jewel-bright berries.
- Practical and make-ahead friendly: bake the shells in advance, store for days, and finish just before serving.
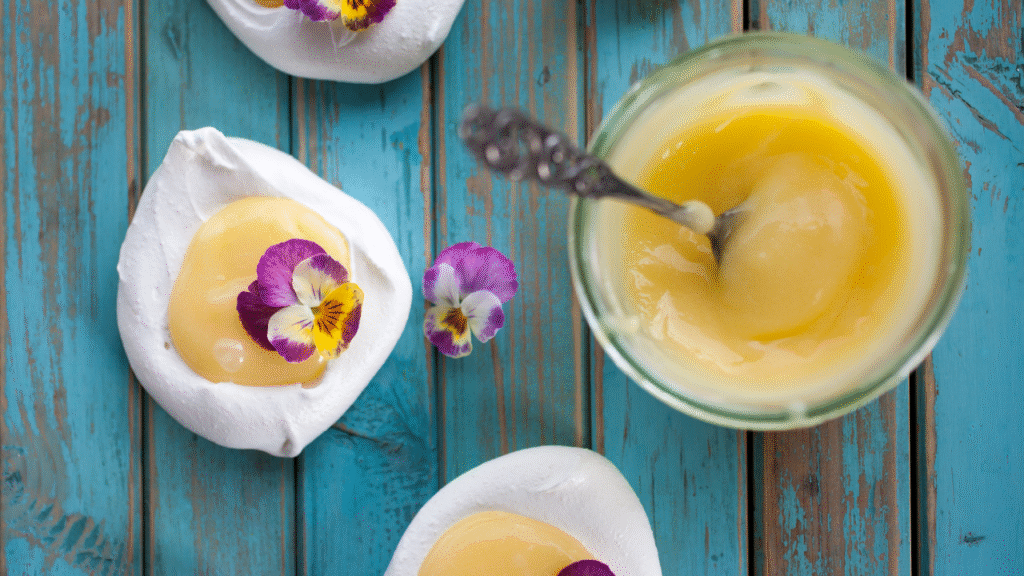
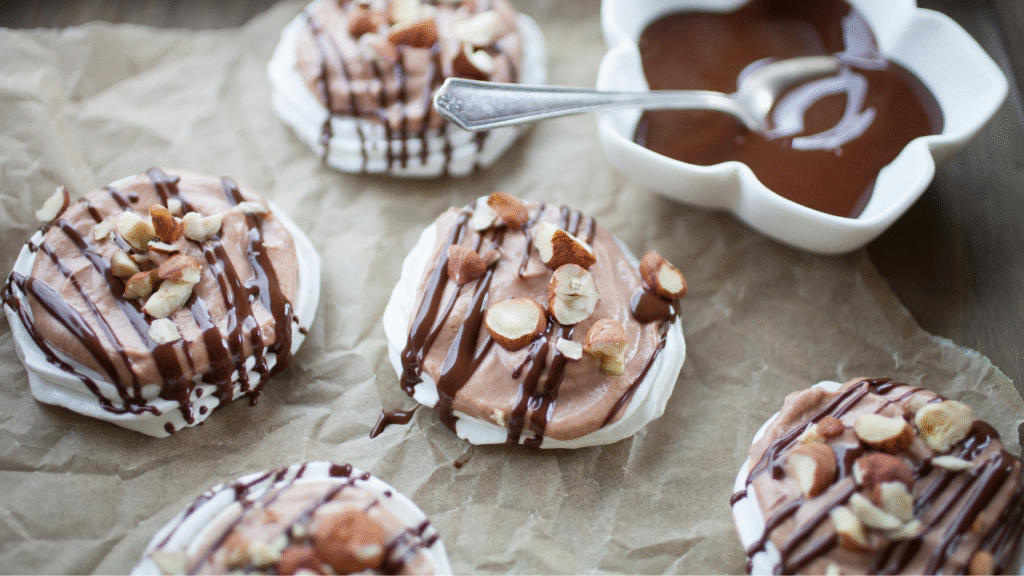
- Effortlessly customizable: berries in summer, citrus curd in winter, figs and honey in fall, or chocolate curls for indulgence.
- Guaranteed to shine at any celebration and leave guests savoring every last bite.
Once you make these, they’ll become your go-to for every celebration, big or small.
📝 Ingredients


This recipe uses just a handful of simple ingredients, proof that you don’t need much to create something extraordinary. Each component plays an essential role in building the perfect pavlova: crisp on the outside, soft and marshmallow-like within, and ready to pair beautifully with fresh fruit and cream.
The toppings are flexible and seasonal, giving you freedom to create your own signature version. A full, detailed ingredient list with measurements will be added to the final recipe card below.
Key Ingredients
| Ingredient | Purpose / Description |
|---|---|
| Egg Whites | The foundation of any meringue. When whipped, they expand with air, creating volume and structure and forming the light, cloud-like base of the pavlova. |
| White Sugar | Adds sweetness while stabilizing the egg whites, creating a glossy, smooth finish and a crisp exterior. |
| Cream of Tartar | Strengthens and acidifies the egg whites, allowing them to whip into stable, tall peaks for maximum lift. |
| Cornstarch | Creates the pavlova’s signature marshmallow-soft center, keeping it tender instead of dry or crumbly. |
Optional Toppings
| Topping | Flavor / Presentation Benefit |
|---|---|
| Fresh Berries (raspberries, strawberries, blackberries, blueberries) | Adds juicy brightness and vibrant color to balance the meringue’s sweetness. |
| Whipped Cream or Mascarpone Cream | Soft, airy richness that melts into the center and complements the crisp shell. |
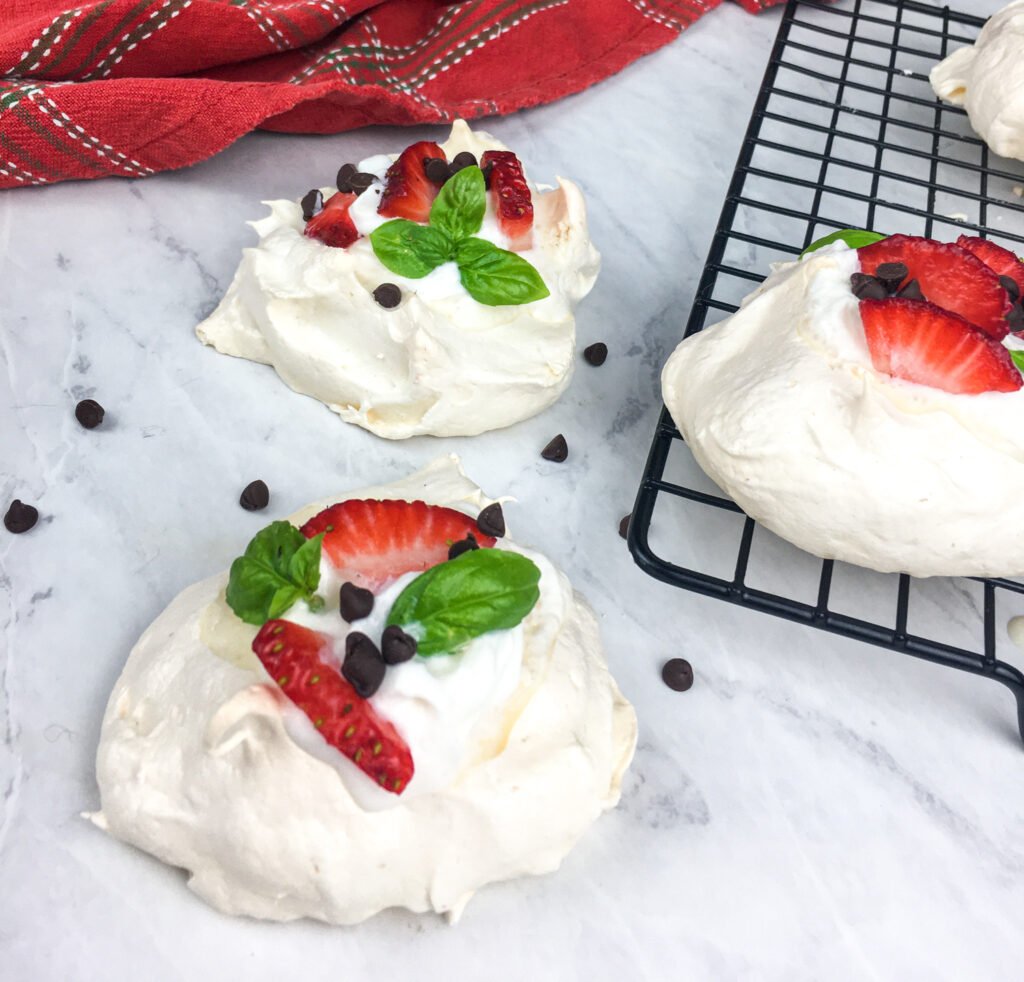
| Mini Chocolate Chips or Chocolate Shavings | Adds a touch of indulgence and texture for chocolate lovers. |
| Fresh Mint or Basil | Provides a fragrant herbal finish with freshness and a pop of color. |
Ingredient Tip
For the best volume and structure, separate eggs while they’re cold, but allow the whites to come to room temperature before whipping. Warm whites whip faster and reach greater volume.
🔄 Ingredient Notes & Substitutions

Every ingredient in a pavlova plays a crucial role, and understanding how each one functions is the key to achieving consistent, bakery-quality results at home. And if you’re missing something or want to adapt the dessert for dietary needs, there are reliable substitutions that preserve the texture, structure, and flavor you love.
Below is a quick reference guide to help you adjust confidently:
| Ingredient | Role in the Recipe | Substitution / Alternative | Flavor & Texture Notes |
|---|---|---|---|
| Cream of Tartar | Strengthens and stabilizes egg whites for tall, glossy peaks | Lemon juice or white vinegar | Adds a slightly tangier finish but still produces stable volume |
| Sugar | Sweetens, stabilizes structure, and creates shine and crispness | Superfine sugar | Dissolves more quickly, resulting in a smoother meringue |
| Cornstarch | Creates the pavlova’s signature marshmallow-soft center | Arrowroot starch | Produces nearly identical texture and mouthfeel |
| Whipped Cream | Adds luxurious creaminess and balances sweetness | Coconut whipped cream | Excellent dairy-free alternative with a light coconut aroma |
Seasonal Twist Ideas
Pavlovas are a blank canvas for creativity, and flavor combinations shift beautifully with the seasons. Try pairing the shells with:
| Idea | How to Use It |
|---|---|
| Stone Fruit Topping | Add sliced peaches, nectarines, or plums for a juicy summer finish |
| Passion Fruit Pulp | Spoon over whipped cream for a tropical, tart contrast |
| Lemon Curd | Spread inside the well before topping with berries for a bright citrus spark |
| Chocolate-Hazelnut Drizzle | Add richness and chocolatey depth for a more indulgent dessert |
Whether you keep it classic or explore new combinations, this recipe adapts effortlessly to any occasion or flavor mood.
🍴 Tools You’ll Need


Great baking doesn’t require fancy equipment—just a few dependable tools that help ensure proper texture and consistency. The right setup makes it easy to whip lofty egg whites, shape elegant mini pavlovas, and bake them evenly for that ideal crisp on the outside, soft on the inside finish.
Here’s what you’ll need to get started, along with simple alternatives if you don’t have everything on hand.
Essential Kitchen Tools
- Stand Mixer or Hand Mixer: Whipping egg whites to stiff, glossy peaks takes time and power. A stand mixer makes this nearly effortless, but a hand mixer works beautifully too—just be patient and let the volume build slowly.
- Baking Sheets: Any standard rimmed sheet pan will do. Using two allows room for proper air circulation, ensuring even baking and consistent texture across every pavlova.
- Parchment Paper or Silpat Mats: Prevent sticking and create smooth bottoms that lift easily once cooled. Silpat mats offer excellent insulation and help maintain an even bake. At the same time, parchment is lightweight and disposable (perfect for easy cleanup).
- Measuring Cups & Spoons: Meringue is all about precision—accurate measurements ensure a strong structure, the right sweetness, and reliable results every time.
- Spoon or Piping Bag: A large spoon works perfectly for shaping rustic, swirled pavlovas with a natural, homemade look. For more polished edges and decorative ribbing, use a piping bag fitted with a star or round tip.
Pro Tool Tip
Use stainless steel or glass bowls when whipping egg whites. Both surfaces are naturally grease-resistant and help whites whip to maximum volume.
Avoid plastic bowls, which can hold residual oils even after washing—these interfere with the whites’ ability to form peaks and prevent proper aeration.
🧑🍳 Step-by-Step Instructions
1) Prep
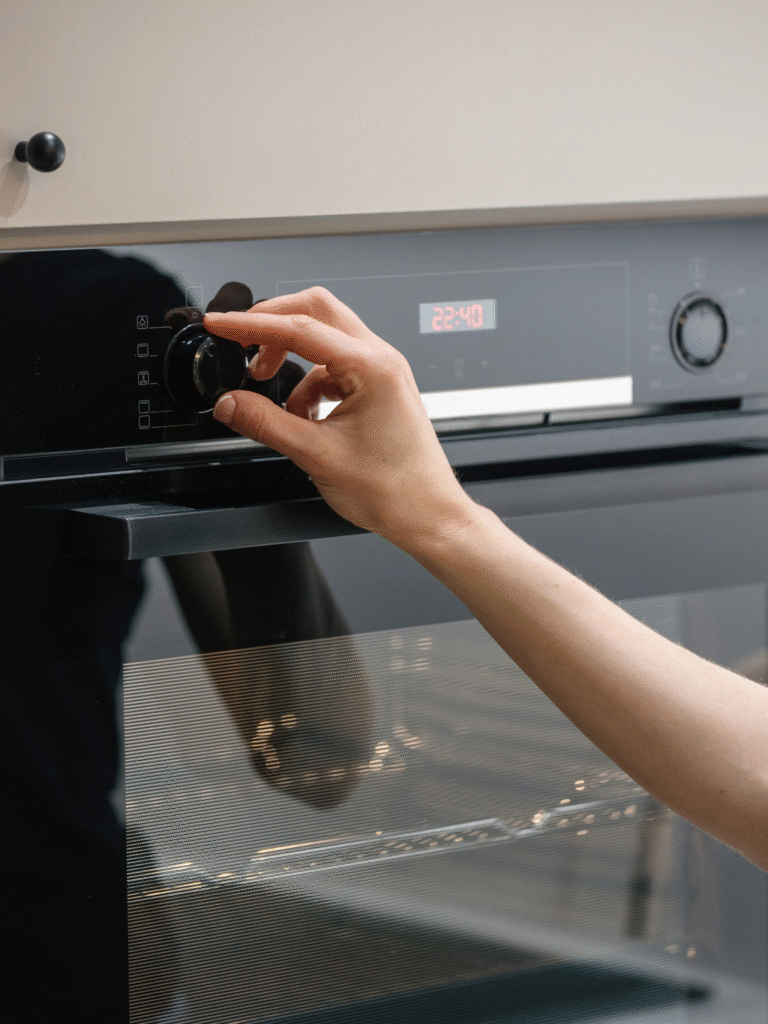
- Preheat the oven to 300°F (150°C) and position racks near the center.
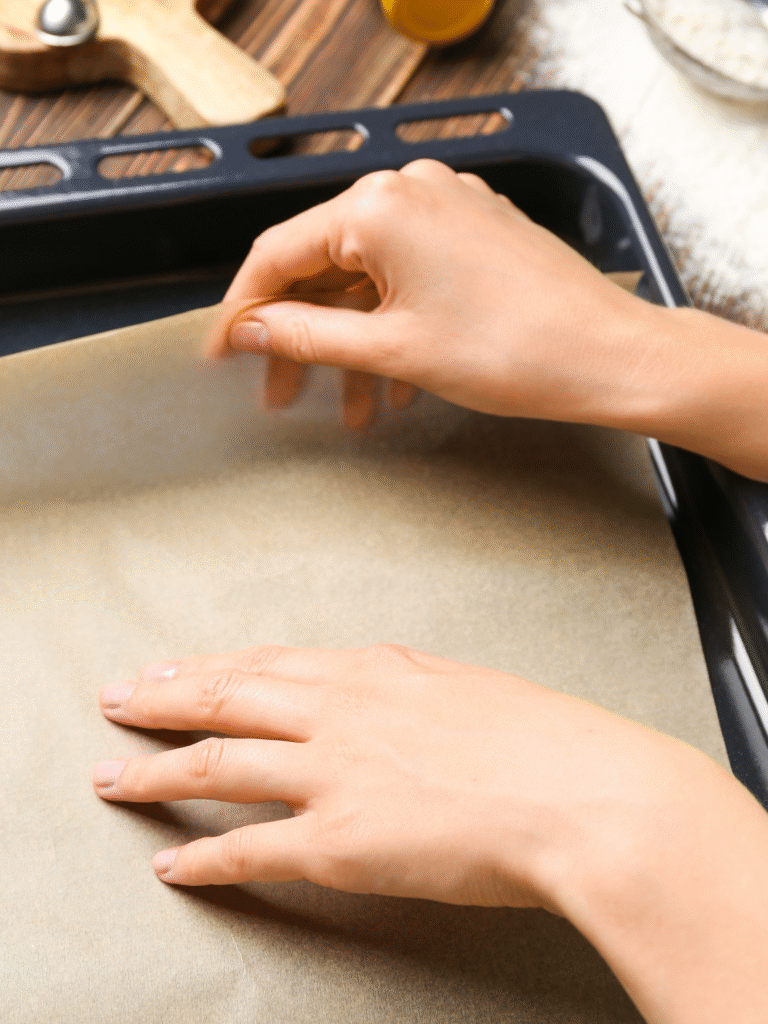
- Line two baking sheets with parchment paper or Silpat mats to prevent sticking and encourage even baking.
- Separate the eggs while they’re cold (the yolks are firmer and easier to control), placing the whites into a clean stainless steel or glass bowl. Set the whites aside and let them come to room temperature for about 30 minutes—they whip to a greater volume when warm.

2) Bake
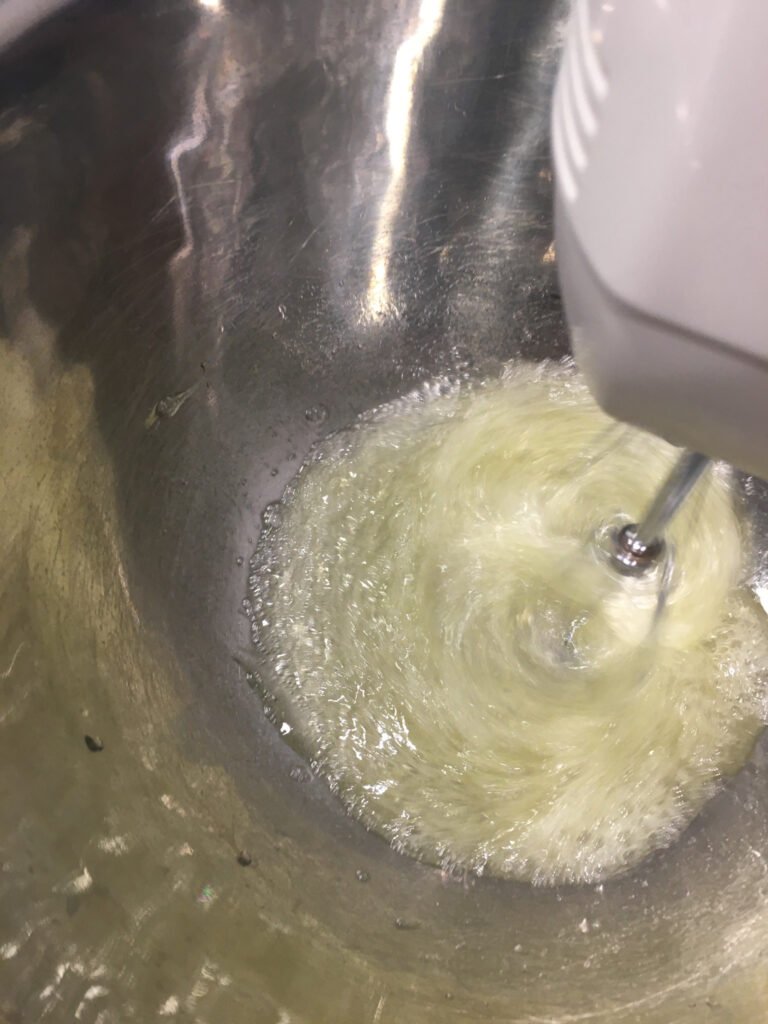
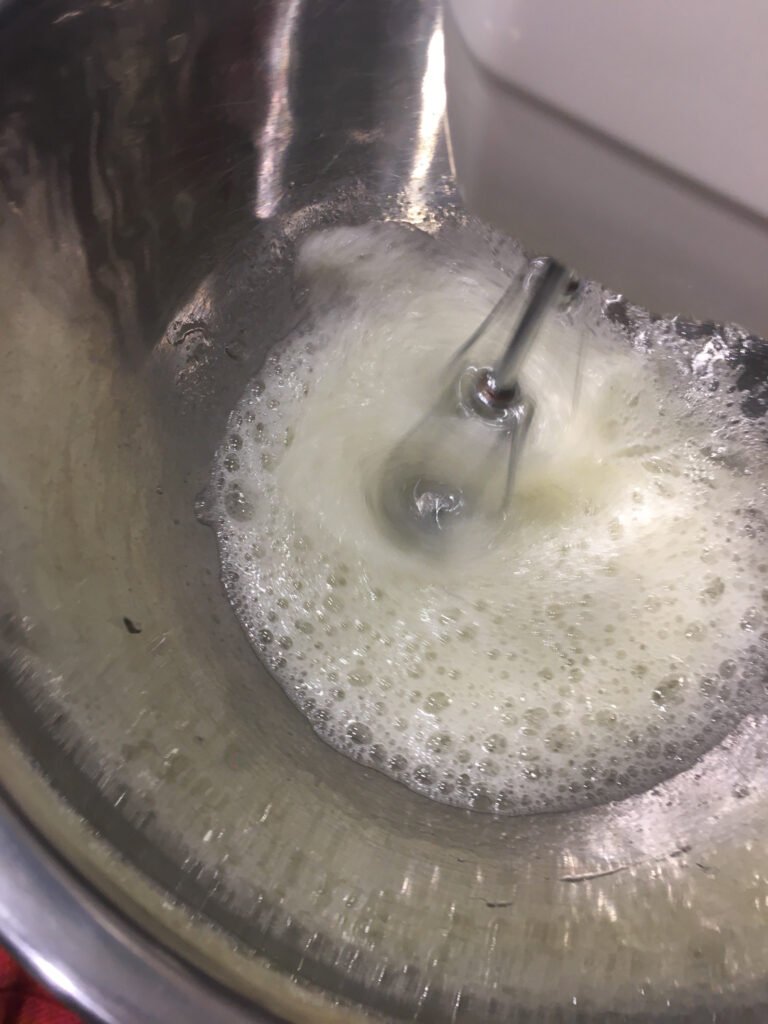
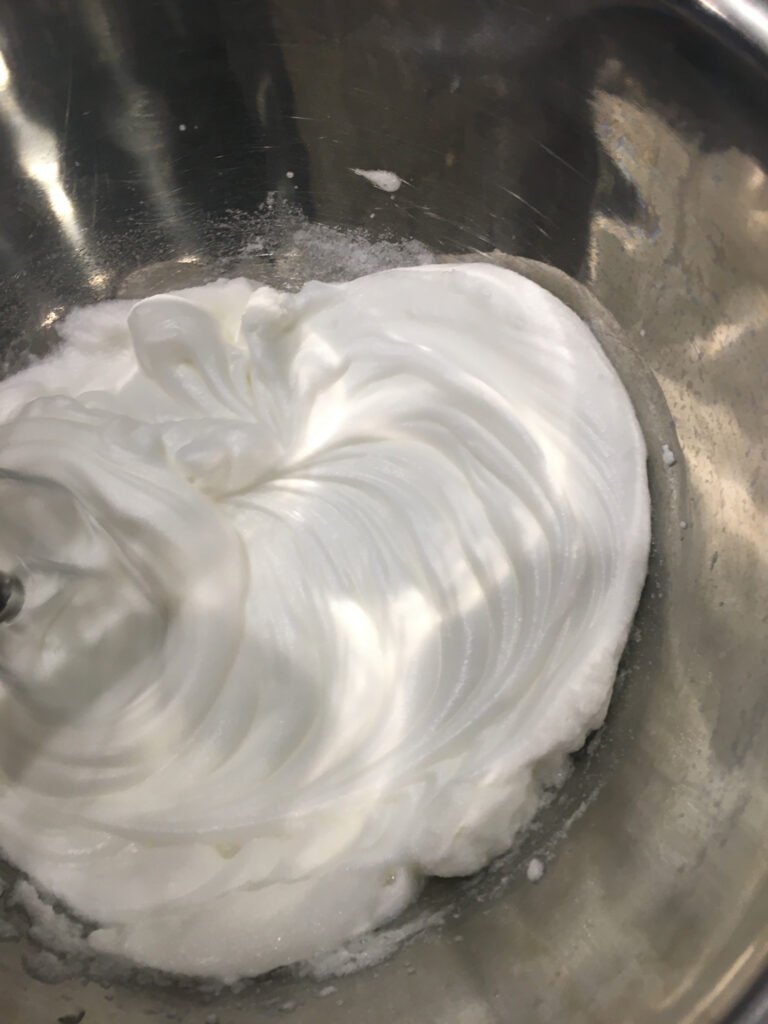
- Beat the egg whites on medium speed until they become thick, foamy, and turn opaque.
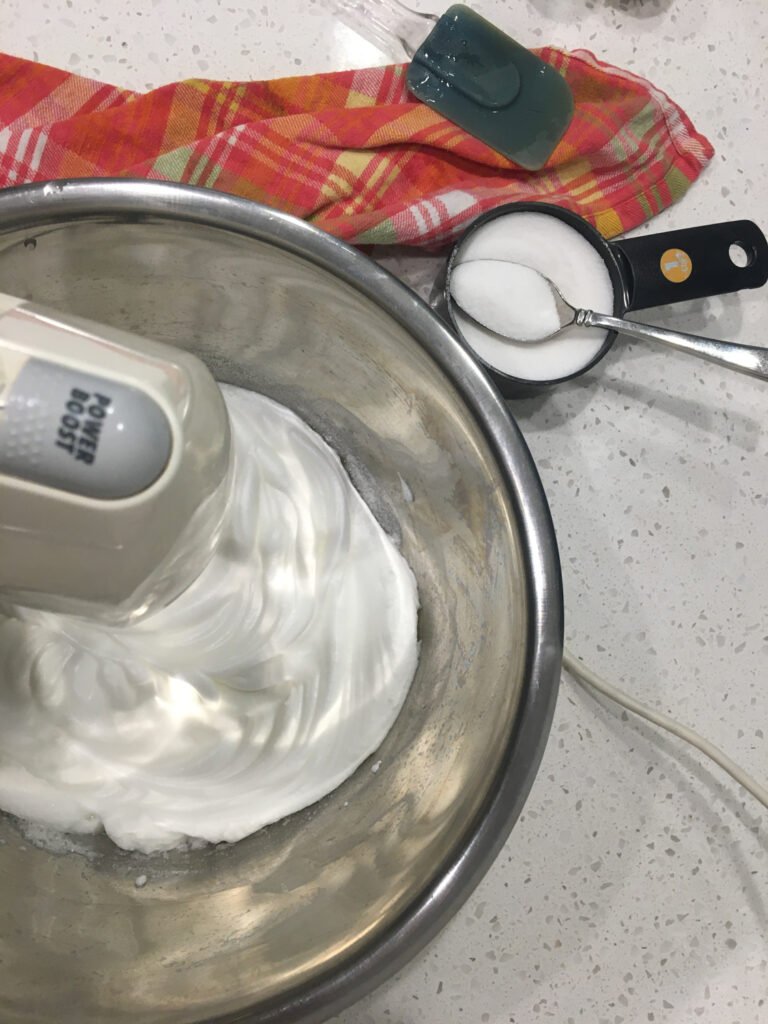
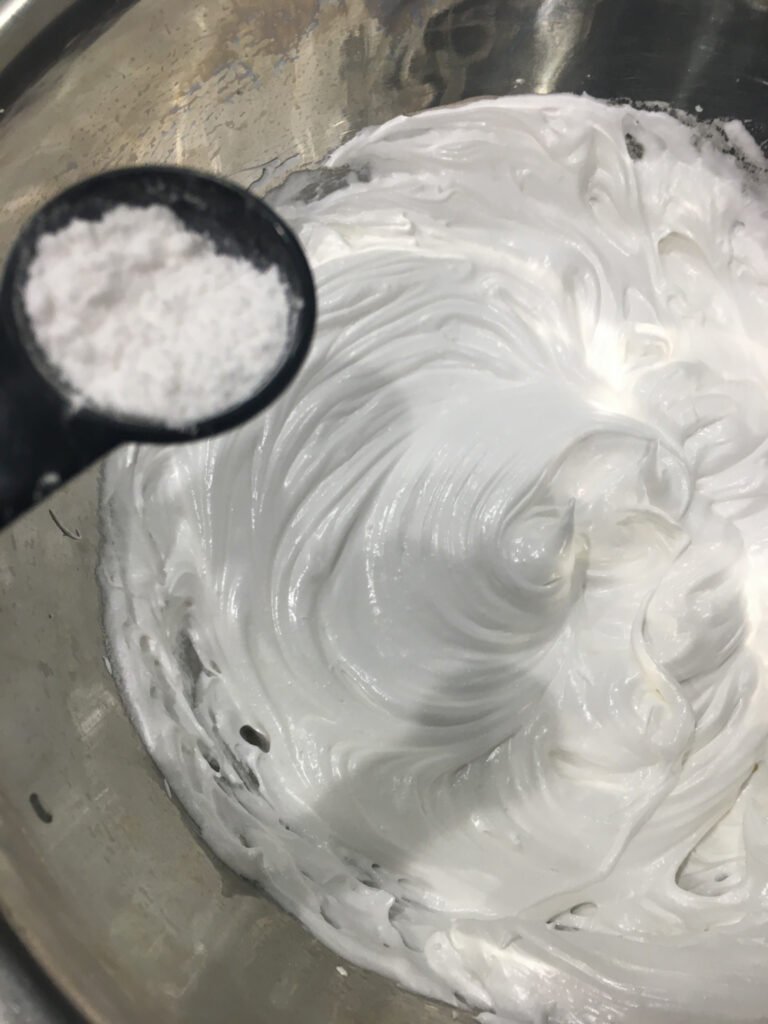
- Gradually add the sugar, 1–2 tablespoons at a time, while continuing to mix. Slow addition ensures the sugar dissolves completely, leading to a glossy meringue with strong peaks.
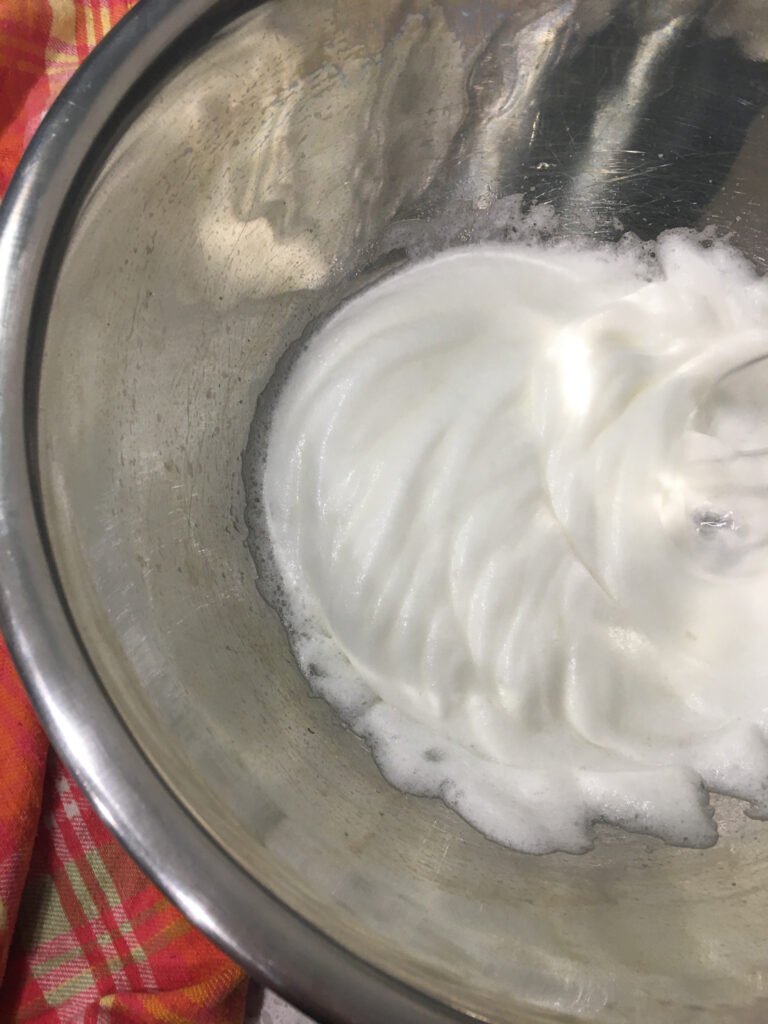
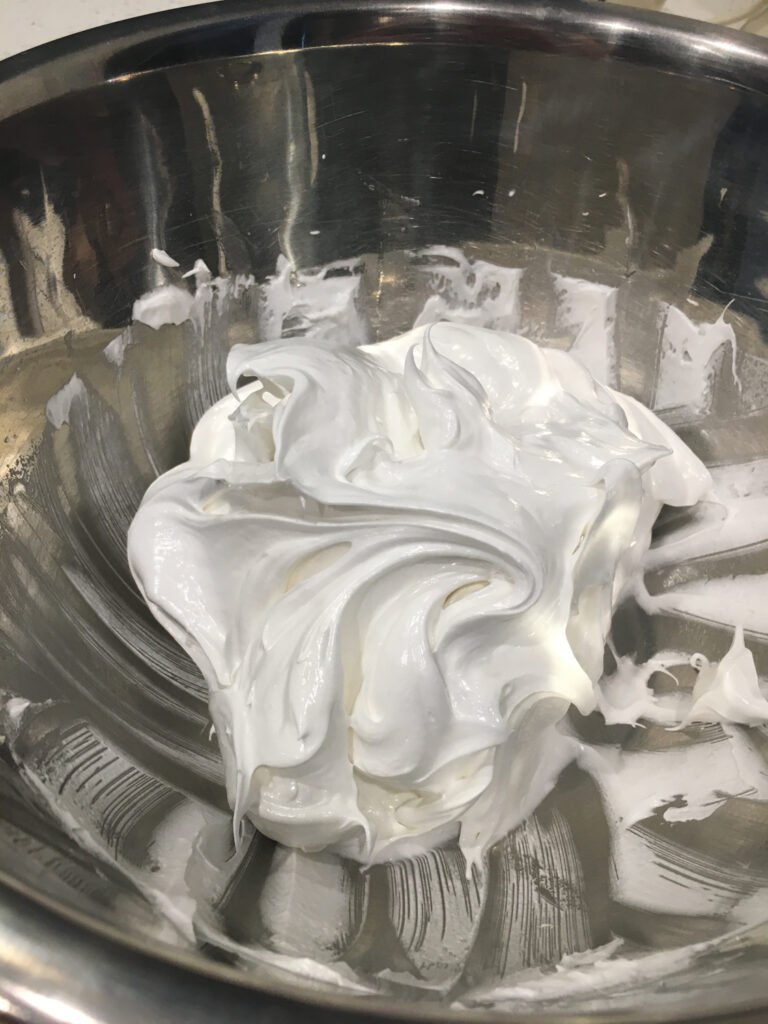
- Add the cornstarch and cream of tartar, and continue beating until the mixture forms stiff, shiny peaks that stand upright when the beaters are lifted.

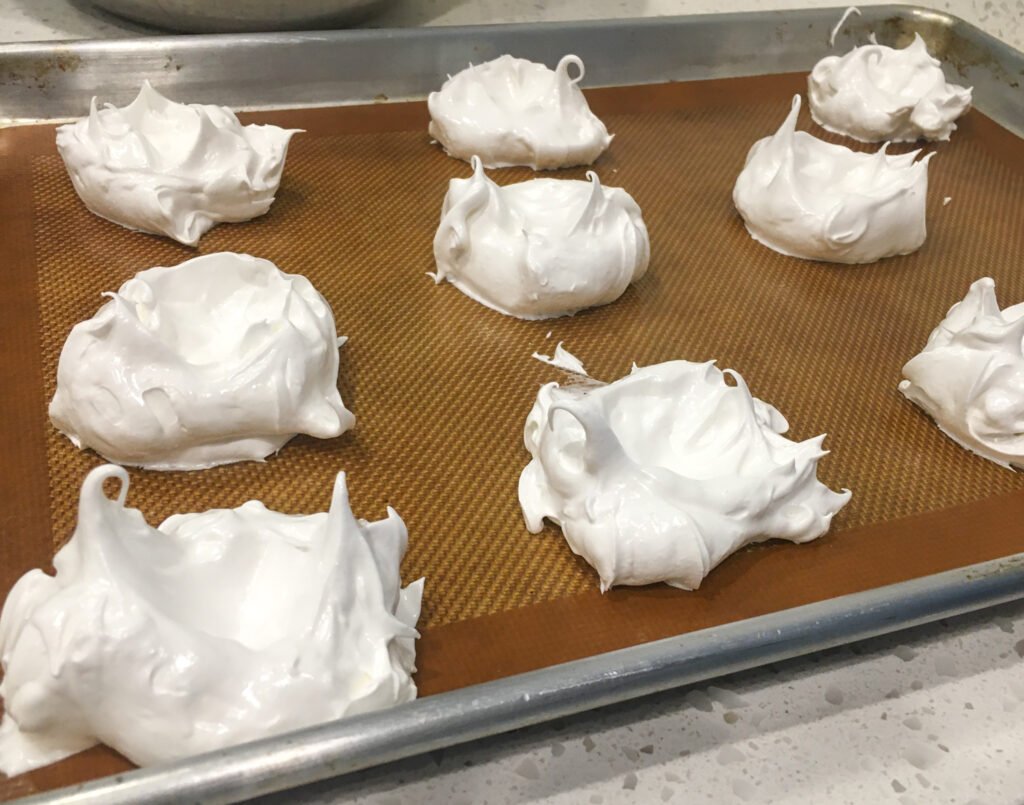
- Shape the pavlovas by spooning or piping the meringue into equal portions on the prepared baking sheets.

- Use the back of the spoon to create a shallow well in the center—this will hold the toppings after baking.
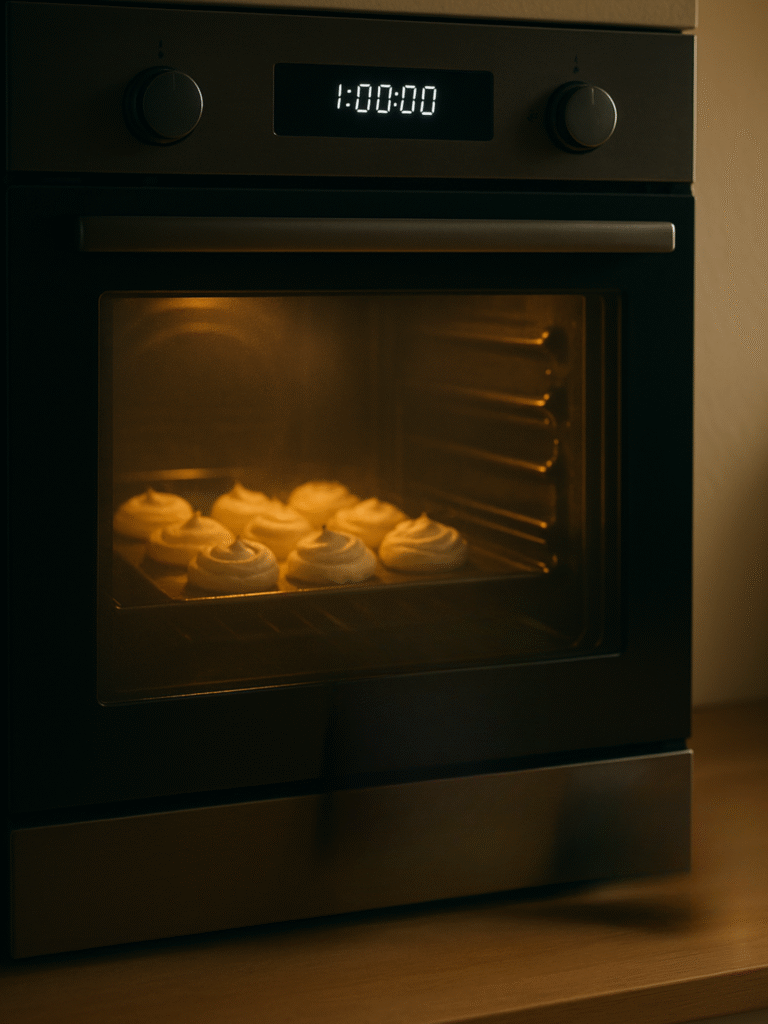
- Bake for 10 minutes at 300°F, then reduce the heat to 225°F (110°C) and continue baking for 45 minutes without opening the oven door.
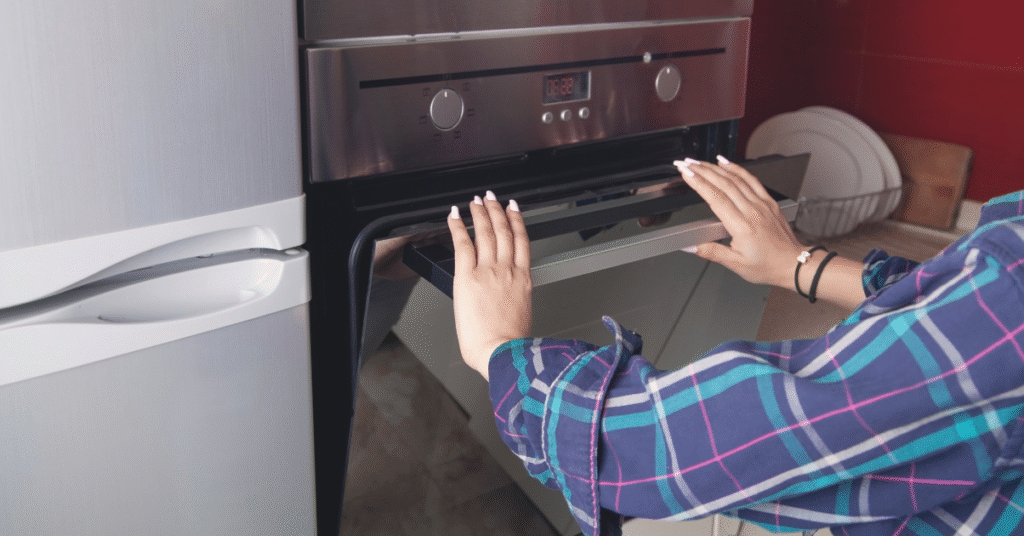
- Turn off the oven and let the pavlovas rest inside for 1 hour. This slow cooling process prevents cracking and helps the centers settle into their soft, marshmallow-like texture.
3) Finish & Serve
- Remove pavlovas from the oven once fully cooled. Carefully transfer them to a serving platter or an airtight container if saving for later.
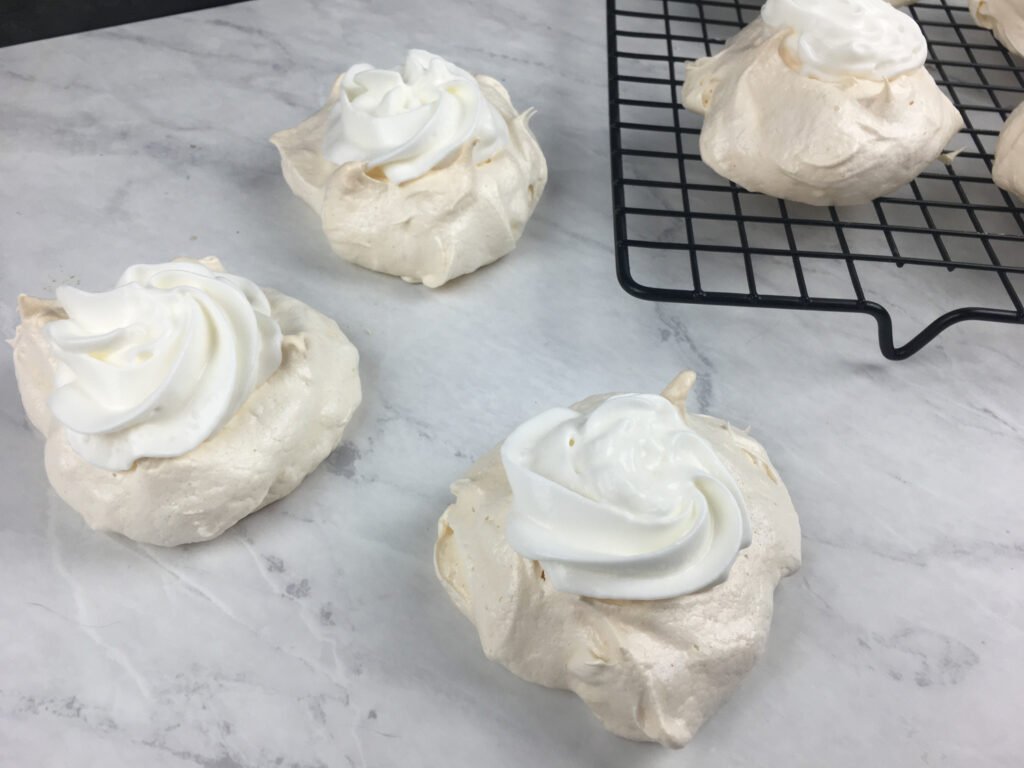
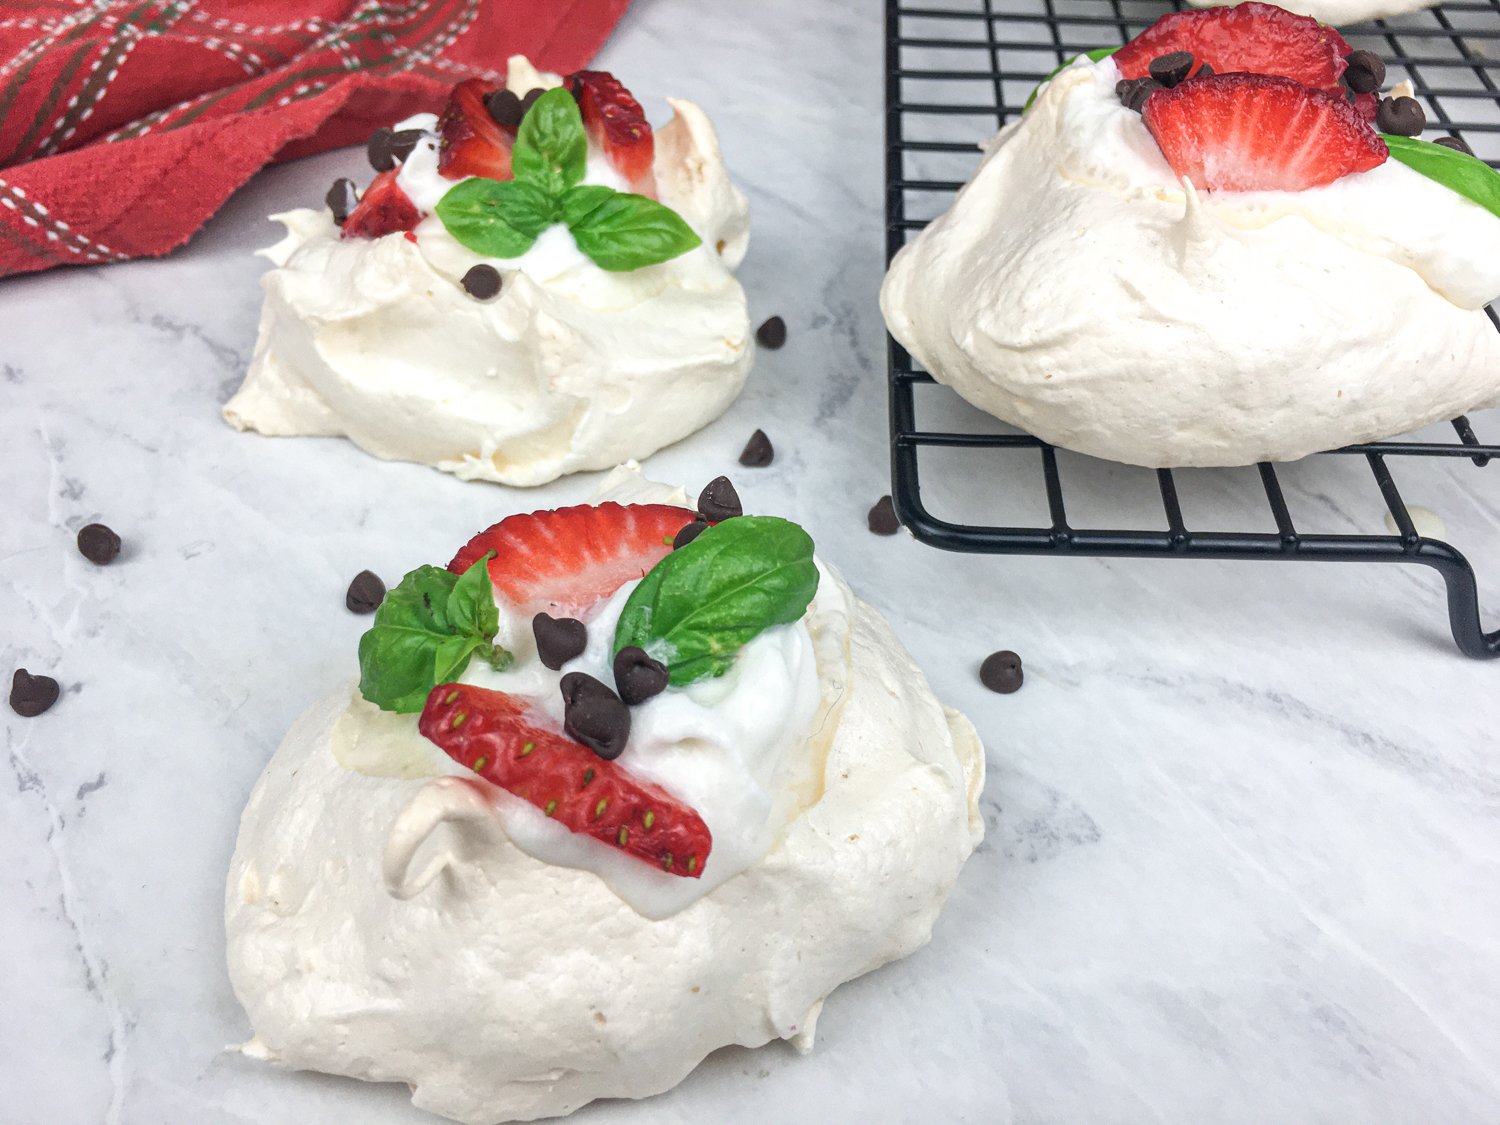
- Top just before serving with whipped cream, fresh berries, mini chocolate chips or shavings, and a sprinkle of mint or basil for brightness and color.
- Serve immediately—once topped, the cream will gradually soften the crispy shell.
Chef Pro Tip: Never open the oven during cooling. Sudden temperature changes can cause the delicate shells to collapse or crack. Patience makes all the difference here.
🎯 Pro Tips for Success
Baking pavlovas is all about technique. A few small details make a big difference in achieving beautifully lifted meringues with crisp shells and soft, marshmallowy centers. These chef-approved tips will help you bake with confidence and ensure consistent results every time.
- Wipe the mixing bowl and whisk with vinegar: Even a trace of grease or lingering egg yolk fat can prevent egg whites from whipping properly. A quick wipe with vinegar or lemon juice ensures a clean, stable environment for maximum volume.
- Add sugar gradually for the glossiest, strongest peaks: Slowly incorporating sugar allows it to dissolve fully, strengthening the meringue structure. Adding it too quickly can deflate the whites and cause weeping or a grainy texture.
- Avoid baking on humid days when possible: Pavlovas absorb moisture from the air, which can make the shells sticky or soft instead of crisp. If humidity is high, allow a longer drying time in the oven or store the finished shells with a packet of food-safe desiccant.
- Create the indentation before baking: Shaping the center well before the pavlovas go into the oven helps them hold toppings beautifully without caving in or cracking later.
- Don’t rush cooling: Letting pavlovas rest in the turned-off oven for at least an hour prevents rapid temperature shock, which can collapse their structure.
- Use room-temperature egg whites: They whip faster, reach higher volume, and create a lighter texture than cold whites.
- Resist opening the oven door early: Heat fluctuations can destabilize the meringue, leading to cracking or collapse.
⚠️ Troubleshooting & Common Mistakes
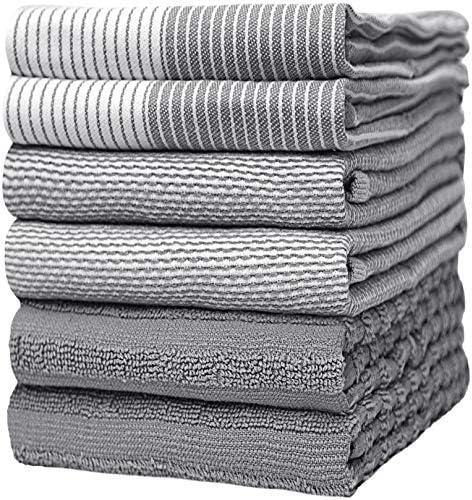
- SOFT & ABSORBENT: Made from 100% ring spun cotton to help keep your home clean and sanitary. Our towels are machine wash…
- ENVIRONMENT FRIENDLY: Absorbent hand towels for a healthier, cleaner environment for your home. They maintain their look…
- 6-PACK: Contains three different textures of towels, including a flat towel and terry towel. Great for drying dishes, cl…
Even seasoned bakers run into challenges with meringue-based desserts. Pavlovas are delicate, and small details like humidity or how quickly the oven cools can affect the final result.
The good news? Most issues have simple fixes. Use this quick troubleshooting guide to diagnose common problems and keep your pavlovas looking and tasting bakery-perfect.
| Problem | Likely Cause | Fix |
|---|---|---|
| Cracked shells | The temperature shifted too quickly during baking or cooling | Let pavlovas cool slowly in the oven with the door closed. Avoid opening the oven at any point. |
| Soft or sticky surface | High humidity or under-drying | Extend the oven drying time by 10–15 minutes. Store fully cooled pavlovas in an airtight container with a silica gel packet. |
| Egg whites won’t whip to stiff peaks | Trace yolk contamination or tools not completely clean | Start with fresh room-temperature whites and ensure the bowl/whisk are perfectly clean and dry—wipe tools with vinegar to remove any grease. |
| Weeping or leaking syrup | Sugar is added too fast or not fully dissolved | Add sugar gradually, 1 tablespoon at a time, and whip until the meringue is glossy and smooth with no gritty texture. |
💡 Serving Suggestions & Storage

- Help Organize Your Kitchen and Pantry— Imagine every time walking to your kitchen or pantry, found everything is neatly …
- 4 Size Combinations Fit Your Needs — Our kitchen storage container set comes in 4 different sizes. Includes 6 Tall Conta…
- Airtight Containers Keep Food Fresh — The side-locking lids with silicone gasket make these storage containers airtight,…
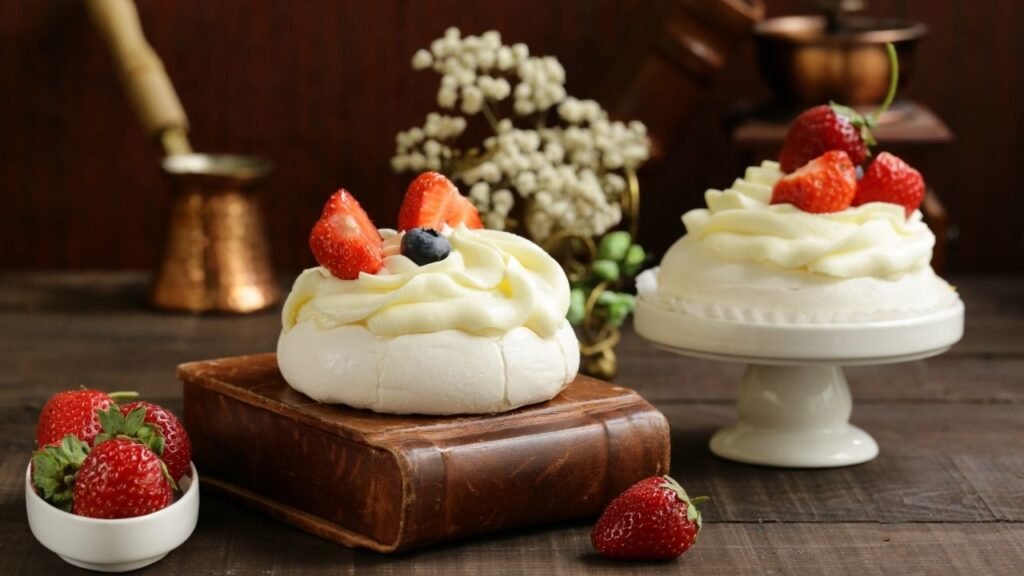
Mini pavlovas are as beautiful to present as they are delicious to eat. Their snowy white shells and jewel-toned toppings make them the instant star of any dessert spread—no elaborate decorating skills required.
With a few thoughtful touches, you can transform these airy meringue nests into a show-stopping finale perfect for celebrations, brunches, or intimate dinners.
Presentation Ideas
- Dust with powdered sugar for a soft, elegant finish that enhances their delicate texture.
- Layer berries in alternating colors—think ruby raspberries, deep blackberries, and vibrant blueberries—to create eye-catching contrast and natural visual drama.
- Serve on a large white platter or cake stand to let the colors pop and create a centerpiece-worthy display.
- Finish with fresh mint or basil sprigs for a burst of green and a fragrant, refreshing note.
- Add chocolate curls or a light drizzle of berry sauce for added color and richness.
Pairing Ideas
- Espresso or cappuccino — the bitterness of coffee balances the sweet meringue beautifully.
- Sparkling wine or rosé champagne—the bubbles add welcome acidity and brightness alongside the creamy topping.
- Berry-infused mocktails or sparkling water with citrus — a refreshing non-alcoholic pairing that echoes the fruit flavors.
Storage
- Store unfilled pavlova shells in an airtight container for up to 2 days. Keep them dry and away from humidity to maintain crispness.
- Freeze unfilled pavlovas for up to 1 month, separating layers with parchment paper to prevent sticking. Thaw at room temperature inside a closed container.
- Once topped, serve immediately. Whipped cream and fruit begin to soften the shell within minutes, so assemble right before dessert time for the best texture.
🍽️ Variations & Flavor Ideas
One of the best things about mini pavlovas is their versatility. They’re a blank canvas ready to match any season, celebration, or craving. Whether you prefer something rich and chocolatey, light and fruity, or festive and decorative, toppings transform the experience instantly.
Mix and match textures, colors, and flavors to create a signature version or build a pavlova bar where guests customize their own creations.
| Variation | How to Do It |
|---|---|
| Chocolate Lovers | Add cocoa powder to the whipped cream and finish with chocolate curls or mini chips for a decadent twist |
| Tropical | Top with fresh mango, kiwi, and passion fruit pulp for bright, sunny flavor and juicy texture |
| Lemon Dream | Fill the center with silky lemon curd, then finish with fresh zest for citrus sparkle |
| Holiday | Garnish with pomegranate arils and a small rosemary sprig for color, fragrance, and seasonal flair |
❓ FAQs – Frequently Asked Questions

Can I make pavlovas ahead of time?
Yes—store unfilled shells in an airtight container for up to 2 days to maintain their crisp texture. Add toppings only right before serving to prevent softening.
Can I make this dairy-free?
Absolutely—use coconut whipped cream, which whips beautifully and adds a subtle tropical flavor. It pairs especially well with fresh berries or citrus.
Why did my pavlovas crack?
Cracking often happens when the oven temperature changes too quickly, especially if the door is opened early. Allow the pavlovas to cool gradually in a closed oven to help them set gently.
Can I make one large pavlova instead of minis?
Yes, simply form one larger round and increase baking time by 20–25 minutes until the outside is crisp and set. Cool it in the oven the same way to preserve the marshmallow center.
How do I know when stiff peaks are ready?
Lift the whisk straight up—the peaks should stand tall without collapsing or drooping. The meringue will look glossy, smooth, and thick.
Why are my pavlovas sticky?
Humidity can prevent the shells from fully drying, leaving them tacky or soft. Extend the resting time in the oven or store them with a food-safe desiccant packet.
Can I use different fruits?
Definitely—any seasonal fruit works beautifully, including stone fruit, figs, citrus segments, or tropical mixes. Choose fruit that offers bright acidity to balance the sweetness.
Can I pipe the batter instead of spooning?
Yes—piping creates a more decorative, professional look with clean edges or ridged sides. Use a star or round piping tip based on your preferred style.
📣 Final Thoughts
Mini pavlovas prove that elegance doesn’t need to be complicated. With a few pantry staples and a little patience, simple egg whites transform into something light, luxurious, and unforgettable. Each bite delivers that magical contrast of crisp shell, soft marshmallowy center, clouds of cream, and bright bursts of fruit, keeping everyone coming back for more.
Top them with berries, citrus curd, chocolate, or anything you love—these delicate meringues turn any moment into a celebration. Once you make them, you’ll want to bring them to every gathering, from spring brunches to holiday parties.
If you make this recipe, I’d love to see your creations! Tag and share your mini pavlova masterpieces.
📸 Tag your photos and videos on Instagram or TikTok: @RecipeDestinationHub
⭐ Don’t forget to rate this recipe and subscribe for more flavor-forward inspiration!
Join our community of passionate home cooks—let’s create something delicious together. 🍓✨
Let’s keep cooking something amazing—together.
Mini-Pavlovas with Fresh Berries!
What’s Inside
Kitchen Tools
Step-by-Step Instructions
- Arrange the oven racks near the center, spaced evenly apart.
- Preheat the oven to 300°F (150°C).
- Line two large rimmed baking sheets with parchment paper or Silpat™ baking mats and set aside.
- In a stand mixer (or with a hand mixer), beat the egg whites on medium speed until they look foamy, then turn opaque white and slightly thickened.
- With the mixer running, slowly add the sugar, 1–2 tablespoons at a time, letting each addition fully dissolve before adding more.
- Once all the sugar is in, add the cream of tartar and cornstarch.
- Continue beating until the meringue is very stiff, glossy, and holds sharp peaks.
- Spoon the meringue onto the prepared baking sheets in even portions.
- Use the back of the spoon to gently spread each mound into a round and create a shallow well in the center for the toppings.
- Place both baking sheets in the preheated oven and bake for 10 minutes.
- Then reduce the oven temperature to 225°F (110°C) (don’t open the door) and continue baking for 45 minutes.
- When the time is up, turn the oven off and let the pavlovas rest inside for 1 hour without opening the door. This helps prevent cracking and keeps them crisp.
- After 1 hour, remove the pavlovas from the oven and let them cool completely.
- Just before serving, add a generous spoonful of whipped cream to each one and finish with fresh berries, mini chocolate chips, and/or fresh herbs as a garnish.
- Serve immediately and enjoy! 🍓✨
Quick Recipe Notes & Pro Tips
The whipped cream will soften and break through the crispy exterior; however, be sure to add the toppings right before serving.
Eggs are easier to separate while they are still chilled. Once separated, reserve the yolks in the refrigerator for another use, if desired, and allow the whites to come to room temperature for 30 minutes before beating.
Made it? Loved it?
Let Us Know! or use #RecipeDestination to show us your dish!